


MADEXPRO
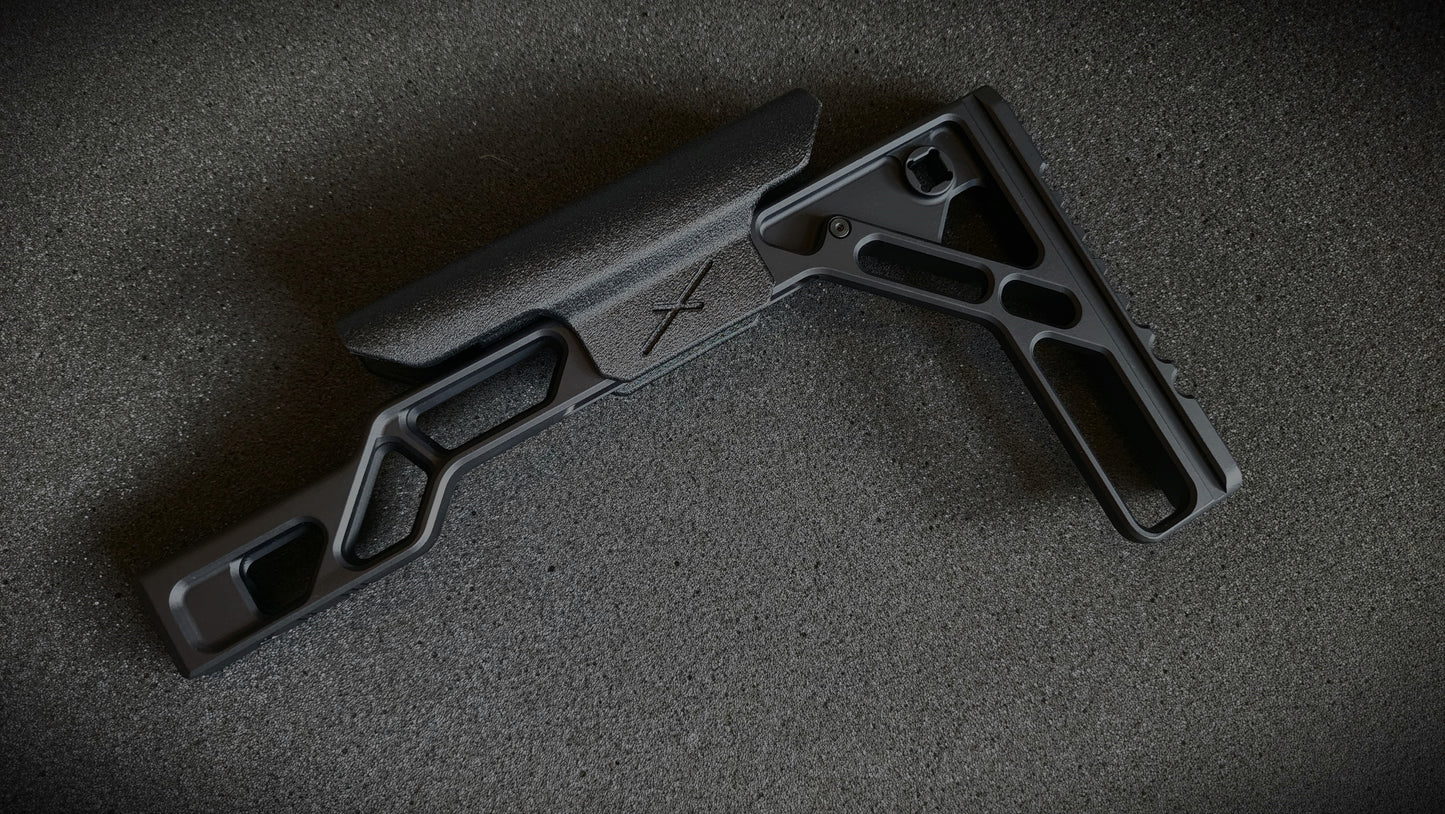
APS | Adaptive Precision Stock
APS | Adaptive Precision Stock
Couldn't load pickup availability
| New for the Sig Cross rifle, the APS design is driven by maximum optimization, minimizing form factor while retaining strength and ergonomics, all core to our standard design process. Take advantage of significant weight reduction along with integrated adaptability by utilizing preexisting parts from your OEM stock and configure the APS to your needs.
Features:
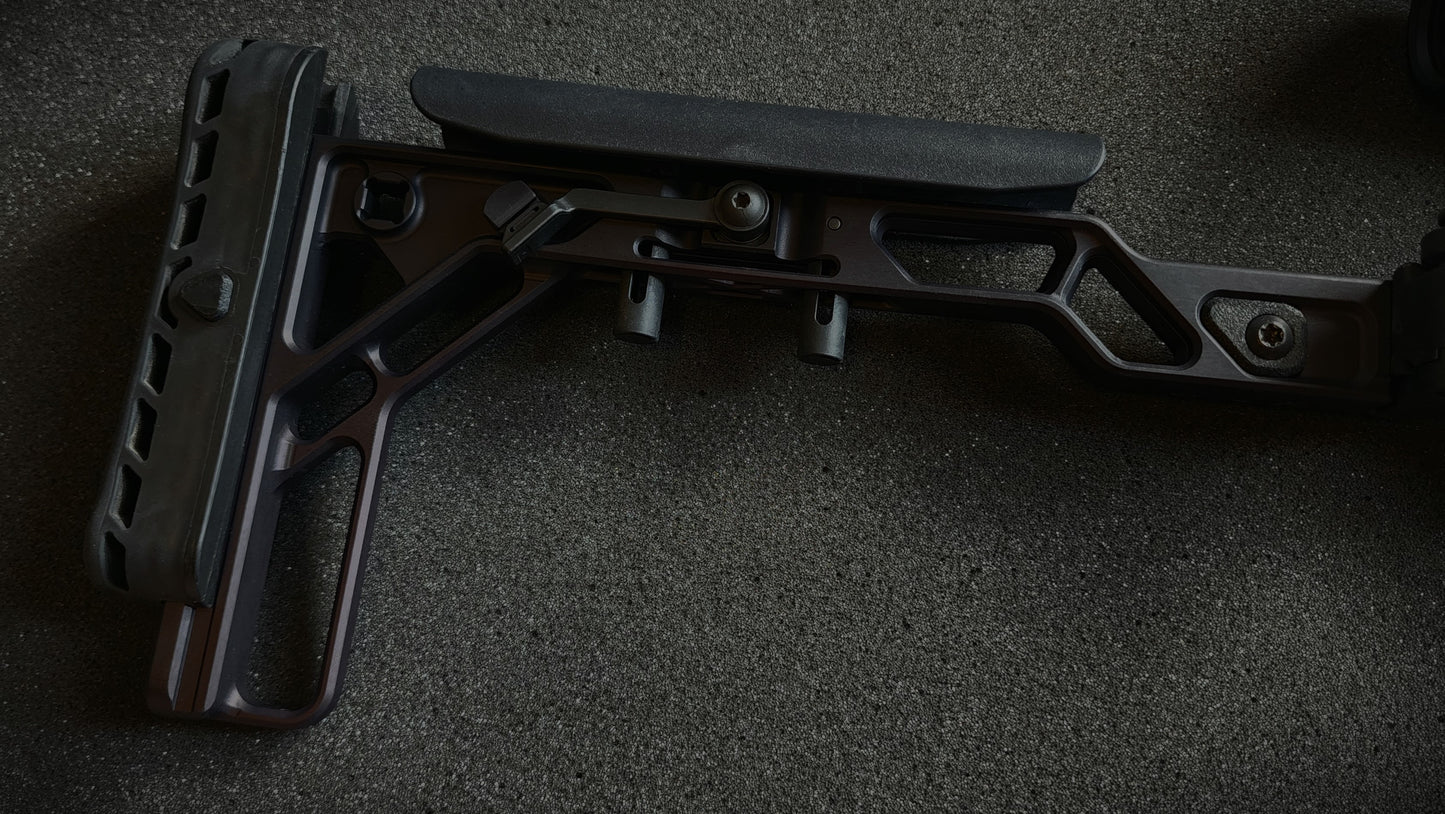
- Reuse OEM adjustable cheek riser hardware and butt pad.
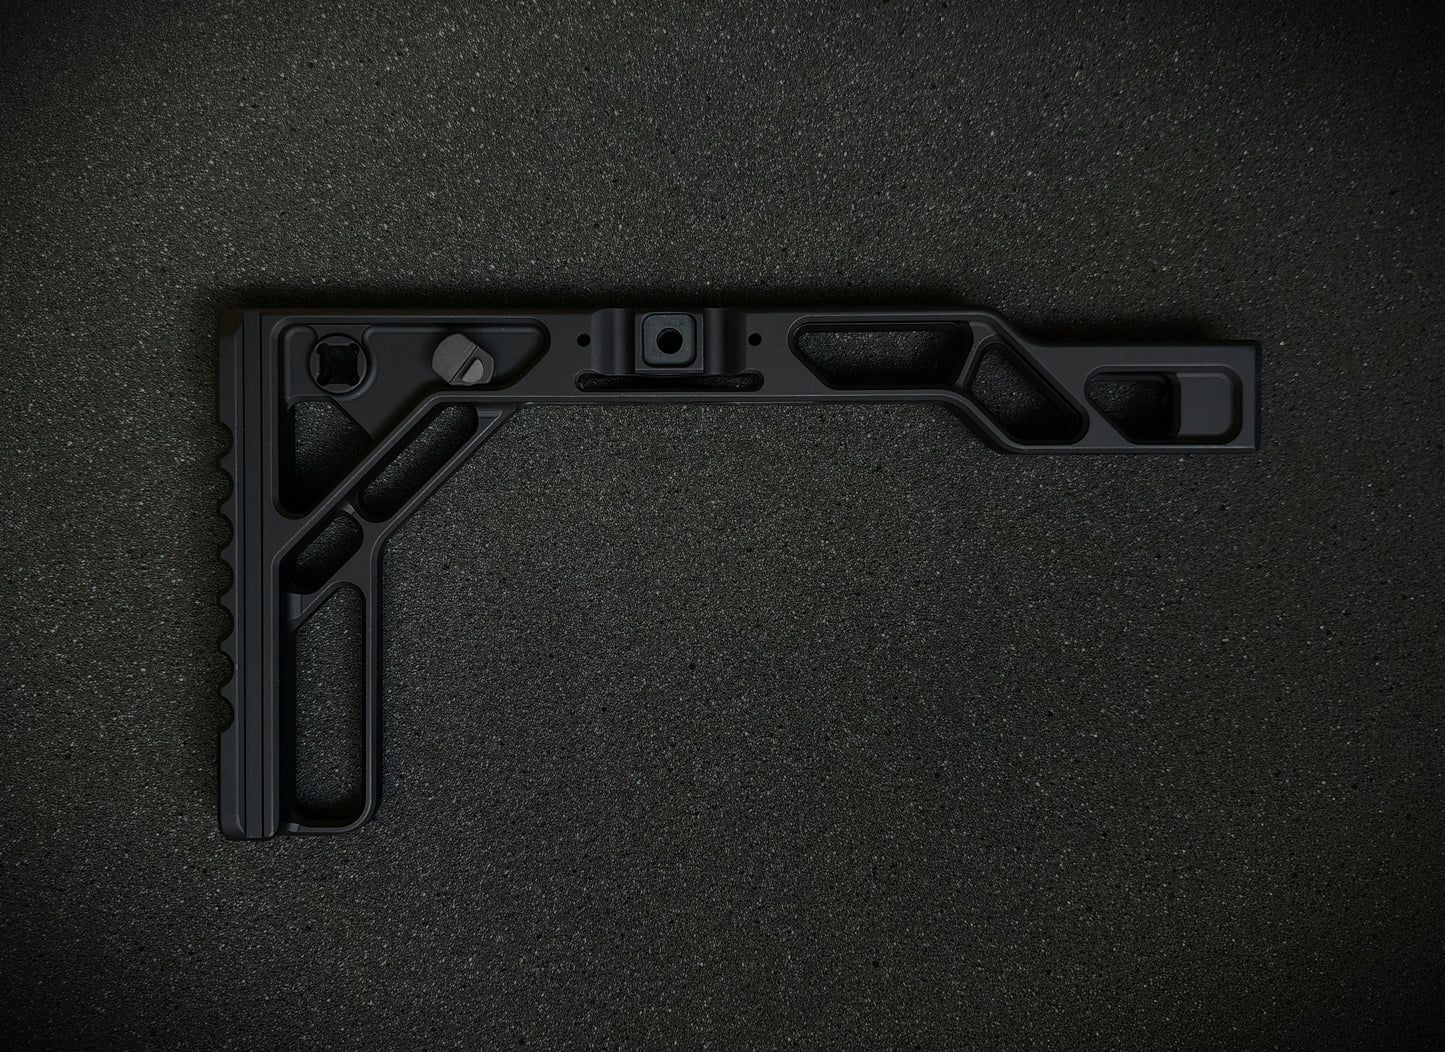
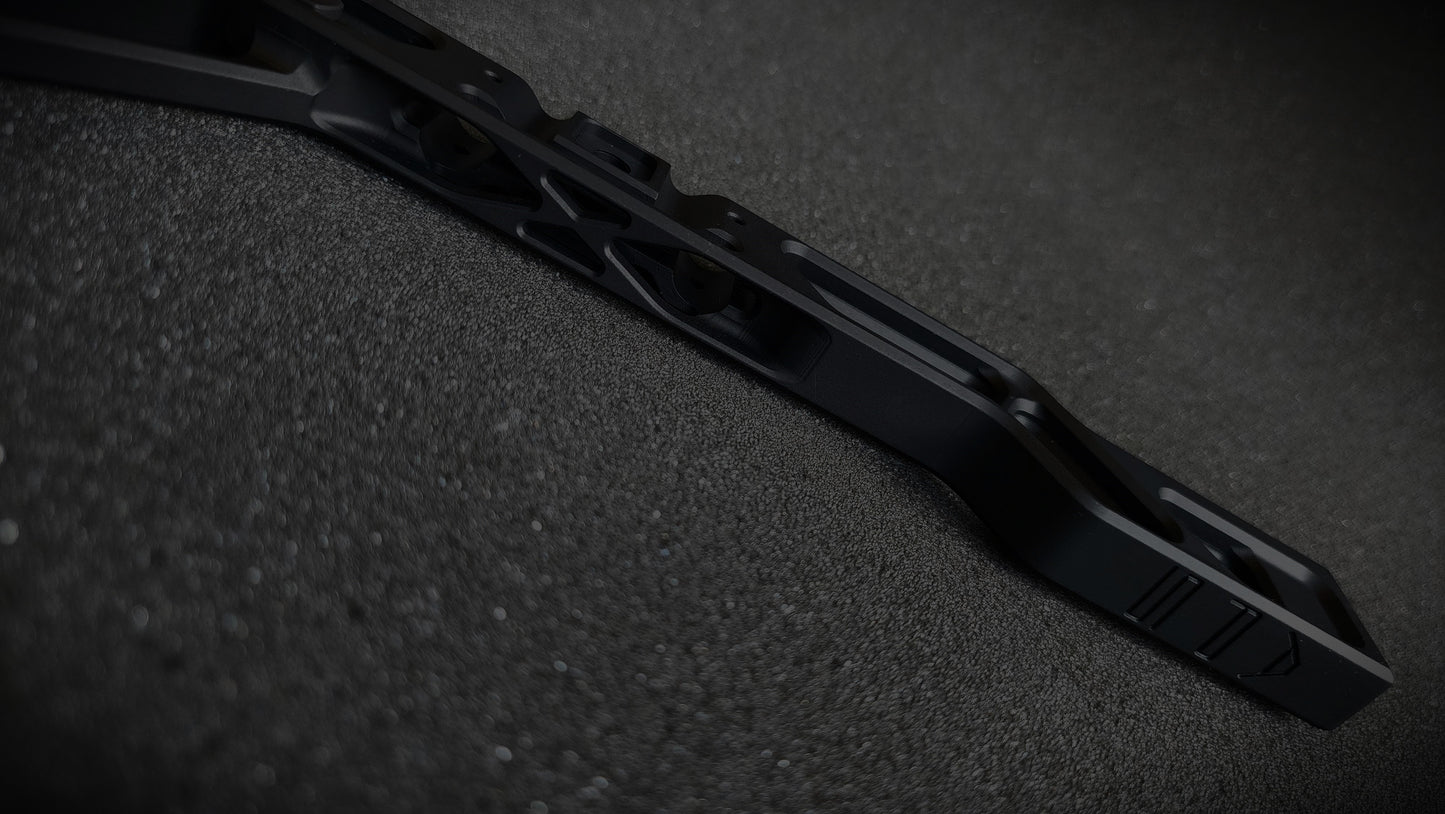
- CNC Milled, solid billet 7 series aluminum for high strength and rigidity.
- Finished in a durable type 3 mil-spec anodizing surface treatment.
- Fixed Length of pull: 13.4" (With factory butt pad installed)
- Accepts OEM adjustable cheek riser.
- Weight: ~ 5.46 Ounces (OEM stock assembly weight ~ 17.64 ounces.)
- Designed and manufactured in Canada.
Add-ons:
- Modular adjustable vertical bag rest. (Compatible with factory bag rider shoe or 5 slot M-LOK rail) Coming soon.
Included components:
- AR optics height clip on cheek riser. DO NOT USE WITH OUT AN INSTALLED CHEEK RISER!
- Improved butt pad adjuster button. Removes free play wiggle.
Compatible with all Sig Cross rifle/s.
Will fit some MCX and Speer hinges*
(Images may not represent the final product in whole and are for reference only)
Share

Collapsible content
OEM Cheek riser Install guide
The following is a installation guide for professional gunsmiths. Any personal attempt is at your own risk.
!SAFETY! Ensure the firearm is clear of attached magazines and ammunition from the chamber before proceeding further!
Disassembly (OEM Cheek riser)
- Unlock and loosen clamp lever.
- With a narrow tool, compress a cheek riser pillar spring away from the retaining pin until it falls out free. Repeat for the second pillar spring.
- Remove cheek riser from the OEM stock.
- Remove clamping lever arm, pay special note to the order of assembled hardware components. From left hand side to right. Nut, stock body, plastic spacer, stock body, washer, lever arm, bolt.
Assembly (OEM Cheek riser)
- Repeat step 4 in reverse, be sure to install the steel washer, use without will cause damage and improper function of clamp. Do not install the plastic spacer in the APS.
- Note: In order to set the clamp tension and lock timing, install all clamp lever components. Tighten lever until the cheek riser pillars do not fit into their respective holes. Avoid going too far past this point. Moving the lever will be stiff during this procedure.
- Using a marking pen or whiteout, make a witness line from the bolt end onto the nut and stock body.
- Now make a mark on the bolt head (lever side) pointing to the rear of the stock.
- Holding the nut in place, remove the bolt and lever arm.
- NOTE: The nut is a 2 start thread, attempt to reinstall the bolt in the same orientation as it came out.
- Rotate the lever arm to be parallel and pointing in the same direction as the marking on the bolt head.
- Install the bolt and lever arm to the locked position.
- Unlock and test fit the clamping tension with the cheek riser installed with out the retaining pins.
- To make small tension adjustments repeat steps 5 to 9 moving the lever arm one or two spline positions on the bolt at a time counter clockwise if more tension is needed.
- Once desired tension is met, compress one pillar spring, insert riser into stock, install retaining pin and release spring tension.
- Compress second pillar spring as much as possible and install second retaining spring. If the spring is not compressed enough away from the retaining pin hole the pin will be trapped in-between coils making proceeding removal extremely difficult.
WARRANTY
MADEXPRO™ guarantees its products against manufacturing and material defects. Products are hand assembled and inspected at multiple stages to ensure the highest level of quality. MADEXPRO™ is not responsible for any damage incurred during transit or installation.